
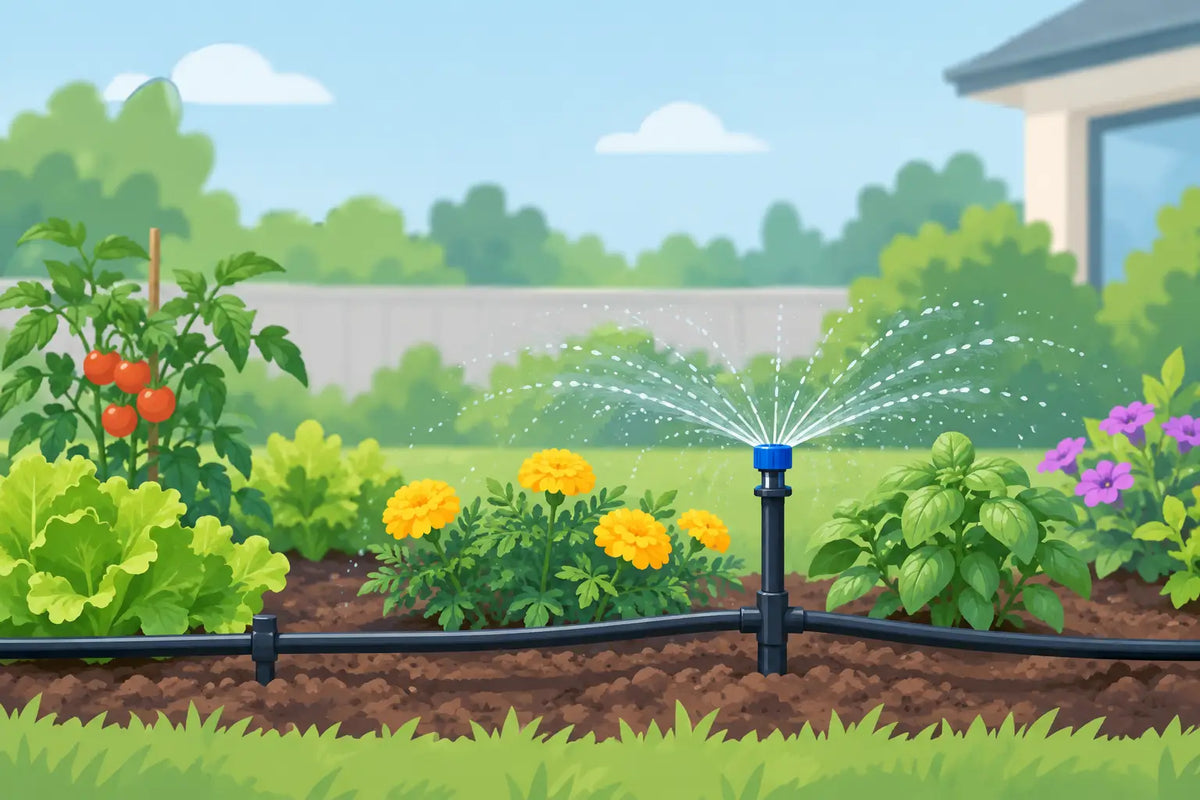
A dry greenhouse border, a row of thirsty salad crops and a collection of patio pots rarely need water in quite the same way. A micro sprinkler system gives you a practical middle ground between watering by hand and installing larger lawn sprinklers: it spreads a controlled spray over a defined area, helping keep soil evenly moist without soaking paths, foliage or empty ground.
For UK gardens, micro sprinklers are particularly useful where planting is dense, layouts change through the season, or several plants need the same watering pattern. They suit flower beds, raised beds, shrub borders, greenhouse benches, vegetable patches and containers grouped together. The result depends less on buying a large kit and more on matching the sprinkler type, water pressure and pipe layout to the space you actually have.
What a micro sprinkler system does best
Micro sprinklers deliver water as a fine spray, mist or small umbrella-shaped pattern. Unlike drip irrigation, which applies water slowly at individual root zones, a sprinkler covers an area around its stake or fitting. This makes it a sensible choice for closely planted areas where placing a separate dripper beside every plant would be impractical.
They work well for newly planted beds, seedlings, leafy vegetables and greenhouse crops that benefit from broadly even moisture. A micro sprinkler can also make watering easier where roots are spread throughout a border rather than concentrated around one main stem.
There is a trade-off. Spray irrigation puts some water on foliage and surface soil, so it is usually less precise than drip watering for established tomatoes, courgettes and larger shrubs. In a humid greenhouse, routinely wet leaves can encourage disease. For those crops, drippers may be the better main system, with micro sprinklers reserved for propagation, young plants or wider growing areas.
Choose the right sprinkler pattern
The spray pattern matters as much as the stated flow rate. A 360-degree sprinkler is designed for the middle of a bed, while a 180-degree model suits an edge and a 90-degree model suits a corner. Using the correct pattern prevents wasted water landing on paving, greenhouse walls or the side of a raised bed.
Spray radius should be considered with care. A manufacturer’s maximum radius is normally based on suitable operating pressure and still conditions. Wind, low pressure and obstructions all reduce effective coverage. In exposed gardens, allow for overlap between sprinklers so that the area between them does not dry out.
For narrow borders or rows, a strip or side-spray pattern can be more useful than a full circular spray. In a greenhouse, low-volume misters and compact micro sprinklers can cover seed trays or benches without drenching the floor. Keep spray heads clear of foliage as plants grow, otherwise leaves can distort the pattern and create dry patches.
Planning a micro sprinkler system layout
Start by drawing the area, even if it is only a rough sketch. Mark the tap, water butt pump or existing supply point, then identify the beds and containers that need similar watering. Grouping plants with broadly similar needs makes timer settings far more useful. Moisture-loving salad leaves should not be on exactly the same run as drought-tolerant lavender.
Run main supply pipe from the water source to each watering zone. From there, use smaller distribution tube where required and fit micro tube, stakes and sprinkler heads at the point of use. Keep pipe runs tidy along bed edges, behind edging boards or beneath mulch where fittings remain accessible.
A typical system includes a tap connector, timer or controller, filter, pressure reducer, supply pipe, connectors, shut-off valves, micro tube and sprinkler assemblies. Each part has a job. The filter protects fine sprinkler outlets from grit, while a pressure reducer helps maintain a predictable spray pattern and protects low-pressure components. Valves are useful when one section of the garden needs to be isolated for maintenance or seasonal changes.
Do not assume every component is interchangeable simply because the tubing looks similar. Check tube diameter, connector type and the pressure range recommended for the sprinklers. A component-level range is useful here because it allows a system to be extended or repaired without replacing every section of pipe.
Spacing and overlap
Place sprinklers according to their realistic, not theoretical, coverage. If a sprinkler reaches around one metre in calm conditions, position the next one so their patterns meet or lightly overlap. This gives more consistent watering as pressure naturally varies along a run.
Avoid trying to cover a large border with one high-flow head. Several correctly spaced micro sprinklers generally provide more even results and are easier to adjust. They also allow you to cap off or redirect a small section when planting changes.
Pressure, flow and line length
A micro sprinkler system needs enough pressure to form an even spray, but too much pressure can cause fine misting, overspray and fittings that blow apart. Mains water pressure can be higher than micro irrigation components need, which is why a suitable pressure reducer is often essential.
Long pipe runs, too many sprinkler heads and changes in height all affect performance. The heads nearest the tap may spray strongly while those at the far end barely work. If this happens, reduce the number of sprinklers on that zone, split the layout into separate runs, check for kinks and leaks, and make sure the filter is clean.
Water flow is equally important. A tap may have good pressure but limited flow once several sprinklers are running. Add up the flow rate of the heads you intend to use and compare it with what the supply can deliver. Where the garden is large, two smaller zones run at different times are normally more dependable than one overloaded line.
Installing the system cleanly
Lay pipes out in warm weather where possible, as tubing is easier to straighten and cut accurately. Secure the main pipe with stakes, then make branches using the correct tees, elbows and joiners. Push fittings fully home and avoid forcing pipe onto connectors at an angle.
Fit sprinkler stakes upright and at a height that clears low foliage. Before covering pipe with mulch or securing everything permanently, flush the line. Run water through open pipe ends to remove cuttings and dirt, then fit the final end caps and turn the system on for a full inspection.
Walk the layout while it is running. Look for spray hitting fences, paths and greenhouse glazing, as well as dry areas behind taller plants. Small changes to a stake position or nozzle angle can save a surprising amount of water over a season.
Use a timer without overwatering
A timer takes away the risk of missed watering during a warm week or when you are away on holiday. It does not remove the need to adjust for weather, soil and plant growth. A short daily run may suit shallow-rooted greenhouse crops in hot conditions, while an established border may need a longer, less frequent watering to encourage deeper roots.
Start conservatively and check the soil several centimetres below the surface after a watering cycle. If it is damp at root depth, the duration is likely sufficient. If water is pooling or running away, reduce the run time or divide the zone. Sandy soil drains quickly and may need more frequent watering; heavy clay retains moisture for longer.
Rain sensors can be useful on outdoor systems, particularly where the timer is programmed through the summer. They prevent unnecessary cycles after rainfall, although sheltered borders may receive far less rain than an open lawn. Check actual soil moisture rather than relying on weather alone.
Maintenance that keeps sprinklers working
Micro sprinklers are simple, but their small outlets need occasional attention. Inspect heads through the growing season, especially after windy weather, mowing nearby grass or moving pots. Clean filters regularly and flush the system if spray patterns become uneven.
Limescale and debris can block nozzles. Remove affected heads, rinse them and follow the manufacturer’s cleaning guidance rather than pushing metal objects into the outlet. Replace damaged micro tube, cracked stakes and worn connectors promptly. Keeping a few matching joiners, end caps and sprinkler heads on hand makes small repairs straightforward.
Before winter, drain outdoor pipework where frost is likely. Disconnect timers and store them somewhere dry if the product instructions recommend it. Greenhouse systems may remain in place, but should still be checked for leaks and blocked nozzles before spring sowing begins.
A well-planned micro sprinkler system should not be complicated. Build it in manageable zones, use the right pressure-control and connection parts, then adjust it as the garden changes. Topiary Garden’s range of micro sprinklers, tubing and fittings makes it easier to start with a practical layout and add to it when another bed, greenhouse bench or row of pots needs reliable watering.