
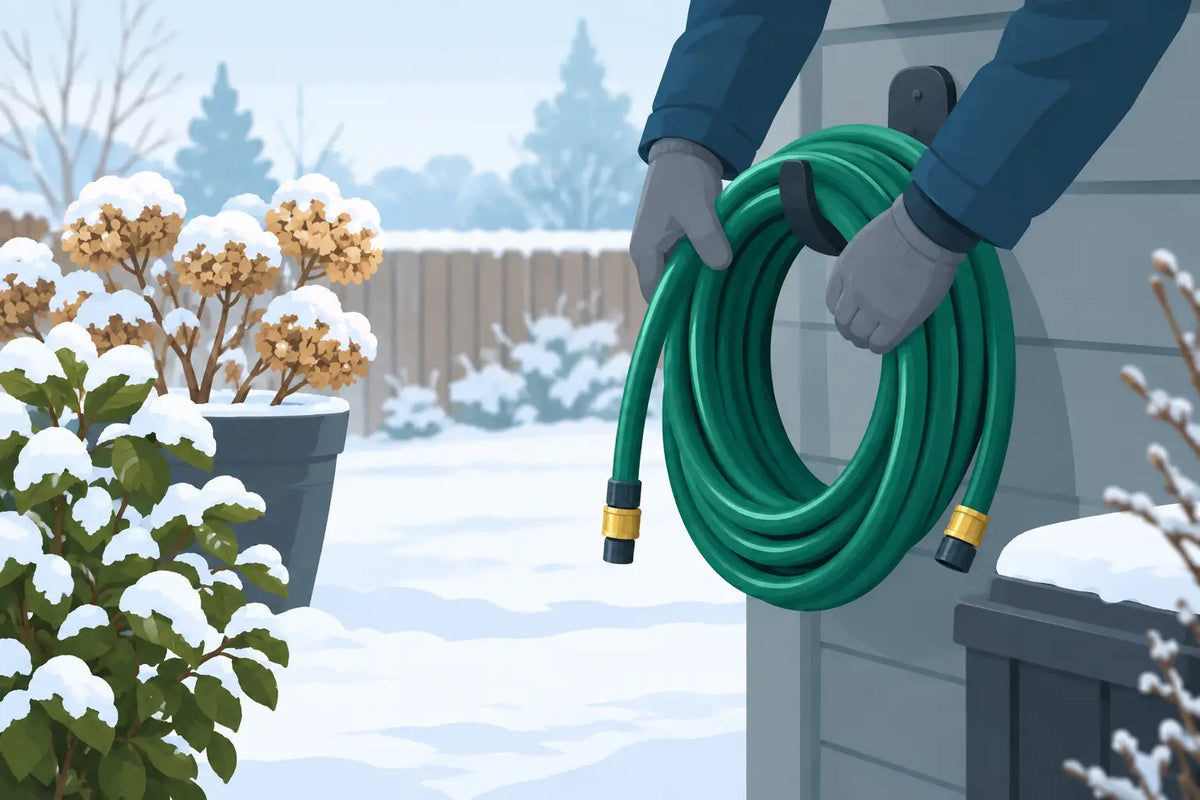
A hose left full of water can split long before the first heavy snowfall. Freezing water expands, putting pressure on hose walls, tap connectors, spray guns and irrigation fittings. Knowing how to winterise garden hoses is therefore less about tidying the shed and more about avoiding leaks, failed fittings and an awkward replacement job when spring watering begins.
For most UK gardens, it is sensible to carry out this job in late autumn, before regular overnight frosts arrive. Do not wait for a hard freeze if your hose runs through an exposed garden, unheated greenhouse or outside tap that catches the wind.
How to winterise garden hoses step by step
Start by turning off the outside water supply. If your outside tap has an internal isolation valve, close it first. This is usually found indoors, close to where the pipe feeds the external tap. Once it is off, open the outside tap to release the water still sitting in the supply pipe. Leave the tap open over winter where appropriate, particularly if it is not a frost-proof model.
Next, disconnect the hose from the tap. Do this even if you use a tap connector with an automatic water-stop function. Those fittings are useful during the watering season, but they can hold a small amount of water inside. A few minutes spent disconnecting and draining the system is far cheaper than replacing cracked plastic connectors in spring.
Stretch the hose out across the lawn, path or driveway where possible. Lift one end and walk along the hose, feeding water towards the open end. You do not need to remove every last drop from a conventional hosepipe, but it should no longer feel heavy with standing water or produce a steady flow when raised.
If the hose is on a reel or trolley, unwind it before draining. Water often remains in the lower coils, especially where the reel has been stored upright. Rewind only once the hose has drained, keeping the coils loose rather than pulling them tight.
Drain spray guns, lances and connectors separately
Do not assume the hose is the only part at risk. Spray guns, watering lances, quick connectors, shut-off valves and Y-connectors contain narrow chambers where water collects. Remove these parts from the hose, operate their triggers or controls, and tip them to drain.
Plastic fittings can become brittle after repeated freezing, while metal components may corrode if water is trapped inside. Check rubber washers and O-rings at the same time. If a seal looks flattened, perished or missing, replace it before the next watering season rather than discovering a leak at the tap in April.
For a hose connected to a wall-mounted reel, remove any detachable spray attachment and drain the hose as fully as the reel design allows. Some fixed reels are awkward to empty completely. In that case, disconnect the supply end, run off as much water as possible, and protect the reel from the worst winter weather with a cover or by moving it under shelter.
Store the hose where frost and sunlight cannot damage it
A drained hose should be stored in a dry, sheltered place. A garage, shed or frost-free utility area is ideal. Keep it away from sharp tools, heavy pots and anything that could flatten or kink it while it is not in use.
Coil the hose in broad loops or leave it neatly on a reel. Tight bends can weaken the hose over time, particularly with older hosepipes that have become less flexible. Avoid hanging a hose over a narrow hook for months, as this concentrates the weight in one area and can distort the tubing.
It is tempting to leave a hose neatly wound on an outside reel all year. This can be acceptable for a good-quality hose in a mild, sheltered location, but it is not the best option during prolonged frost. The trade-off is convenience against lifespan. Bringing the hose indoors or into a shed gives better protection and also makes it easier to inspect before spring.
Sunlight matters too. Winter UV levels are lower, but a hose left outdoors year after year can still fade, stiffen and deteriorate. Covered storage helps protect both the hose material and the plastic parts on reels and connectors.
Winterise irrigation tubing and watering systems
Garden hoses are only one part of a watering set-up. Drip irrigation, micro irrigation and sprinkler systems also need attention before winter, particularly when installed in greenhouses, raised beds or exposed borders.
Turn off the water supply and remove the timer from the tap. Battery-powered water timers should be stored indoors in a dry place. Take out batteries if the timer will not be used for several months, as leaking batteries can damage the contacts. Frost can affect timer housings, internal valves and screens, so do not leave a timer attached to an outside tap through winter unless its instructions specifically say it is frost-safe.
For drip irrigation tubing, open the line at its lowest point and let water drain away. If there is no convenient end cap or drain point, remove an end fitting temporarily. Raise sections of tube where necessary to encourage water out of low spots. Small quantities left in flexible tube are often less troublesome than water trapped in rigid fittings, pressure reducers, solenoid valves and filter housings.
Remove and drain pressure reducers, filters and control valves. Clean filter screens before storage, as sediment and limescale become harder to remove after months of drying out. Check drippers and micro sprinklers for blocked outlets. If they need cleaning, use plain water and a soft brush rather than forcing a sharp object into the outlet, which can alter the flow rate.
Pop-up sprinklers need a slightly different approach. Shut down the supply and drain the pipework where the system design allows. In-ground pipework should ideally be installed with proper drainage or blown clear by a suitable irrigation professional if it is a larger permanent system. Do not use a high-pressure compressor on lightweight garden irrigation tube unless the equipment and pressure are suitable. Excess pressure can force apart connectors or damage valves.
Protect the outside tap
A hose may survive winter perfectly, only for the outside tap or pipe behind it to fail. Once the supply is isolated and the tap has drained, fit an insulated tap cover if the tap is exposed. These covers offer useful extra protection, but they do not replace shutting off and draining the supply pipe.
If you cannot find an indoor isolation valve, consider asking a plumber to fit one before next winter. It gives you a straightforward way to protect an external tap and makes maintenance easier throughout the year.
Common mistakes that cause winter damage
The most frequent mistake is simply disconnecting the hose and leaving it full of water on the ground. Water pools in the low points, freezes, and can split the hose lining or fittings. Another is leaving a spray gun attached, where water is easily trapped behind the trigger mechanism.
Avoid wrapping hose ends in tape or fitting blanking caps before draining. This can trap water inside. Likewise, do not store a wet hose in a sealed plastic bag. It encourages mould and can leave metal parts damp for months.
Be careful when using compressed air. It can be effective on professionally installed irrigation systems, but a domestic air compressor can deliver more pressure than small-bore tubing, drippers and push-fit connectors are designed to handle. Manual draining is usually sufficient for a temporary or above-ground garden system.
A quick check before spring
When the weather improves, reconnect the hose and run water through it before attaching delicate irrigation equipment. Look for bulges, pinholes and drips around connectors. Replace damaged washers, then test spray guns, timers, filters and pressure reducers one component at a time.
A dry, protected hose and properly drained irrigation system will be ready when pots, beds and greenhouse crops need regular watering again. A little care before frost keeps your equipment dependable, helps prevent wasted water, and leaves one less garden job to solve at the start of the growing season.