
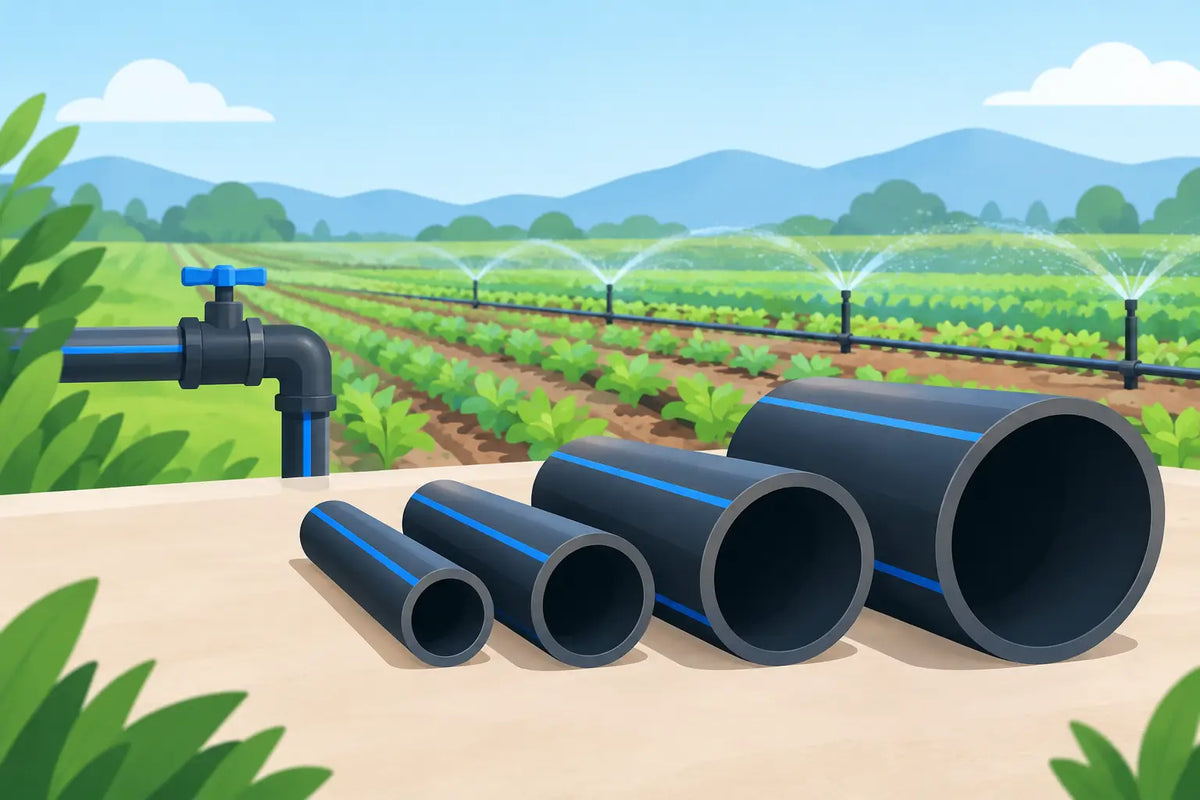
A watering system can have an excellent timer, good drippers and carefully placed sprinklers, yet still water poorly because the pipe is too narrow. To choose irrigation pipe diameter correctly, start with the amount of water each section needs to deliver, then consider the run length, pressure and type of emitters attached. Getting this right avoids weak flow at the far end, split fittings and plants receiving uneven amounts of water.
For most gardens, the answer is not simply to use the largest pipe everywhere. A sensible system uses a larger main supply pipe to carry water around the garden, then smaller distribution tube and micro tube where water is delivered to individual plants. This keeps installation tidy, fittings compatible and performance dependable.
Why irrigation pipe diameter affects watering
Pipe diameter controls how much water can move through a line. Wider pipe has a larger internal bore, so it creates less resistance to flow. This matters most on long runs, on systems serving many drippers, and where several micro sprinklers or pop-up sprinklers operate at the same time.
If a pipe is undersized, the first emitters may appear to work well while those furthest away produce a weak trickle. With sprinklers, the problem is more obvious: spray patterns shrink, coverage becomes patchy and a lawn or border can develop dry areas. Adding more water pressure does not always solve it, particularly when the supply itself has limited flow.
Oversizing is usually less damaging to performance, but it can add cost and make a small pot or greenhouse layout unnecessarily bulky. It can also encourage unsuitable connections if the rest of the system is built around a smaller tube size. Choose the diameter for the job, rather than treating every irrigation line as the same.
Start with the main pipe and branch lines
A typical garden drip irrigation system has three levels. The main pipe carries water from the outdoor tap, timer, pump or pressure reducer. Branch pipe takes that water into separate beds, greenhouse benches or planting areas. Small micro tube then connects a dripper, stake or individual micro sprinkler to the branch.
For compact arrangements of pots, hanging baskets or a short greenhouse bench, 13 mm supply tube is often a practical starting point. It is widely used for garden drip systems and has enough capacity for a modest number of drippers over a sensible distance.
Where a system runs around several borders, feeds a large vegetable plot, or supplies multiple zones, a larger mainline may be the better choice. Common larger options include 19 mm and 25 mm pipe, depending on the irrigation range being used. This larger pipe should carry water close to each area before reducing down to the appropriate branch size.
Micro tube, often around 4 mm or 6 mm, is designed for short connections to individual emitters. It is not a replacement for main supply pipe. Running a long length of micro tube around a border may look economical at first, but pressure loss will quickly limit the number of drippers it can feed reliably.
Nominal sizes are not always interchangeable
A 13 mm tube from one manufacturer may not have exactly the same inside or outside diameter as a 13 mm tube from another. Wall thickness, material and the way fittings grip the pipe can differ. A connector that is merely close in size can leak, loosen in warm weather or damage the tube during fitting.
Build each section around compatible pipe and fittings wherever possible. Check whether a product states its outside diameter, inside diameter or nominal size, and use the matching tee pieces, elbows, end stops, valves and take-off connectors. This is particularly worthwhile when extending an existing system.
Calculate what each zone needs to deliver
Pipe choice becomes much easier when you know what will run at once. Add the flow rates of all drippers and sprinklers operating in one zone, not across the whole garden if a timer or valve operates areas separately.
For example, 20 drippers rated at 2 litres per hour require 40 litres per hour in total. That is a light load for a correctly installed 13 mm drip line over a short to moderate run. Replace those drippers with 12 micro sprinklers at 60 litres per hour each, however, and the zone now requires 720 litres per hour. The supply pipe, water source and pressure control need more careful consideration.
Look at the stated flow rate for every emitter. Adjustable drippers can be useful for pots and mixed planting, but their maximum setting still counts towards demand. Pop-up sprinklers generally require far more flow than drip irrigation, so they should normally be planned as their own zone rather than added to a long dripper line.
Dividing a larger garden into zones is often more effective than installing one very large pipe and attempting to operate everything together. One zone can water borders, another the greenhouse, and another a lawn sprinkler circuit. A multi-outlet timer or separate valves allow the water supply to concentrate on one section at a time.
Account for run length, bends and height changes
Length matters because water loses pressure as it travels through pipe. The longer the run, the more useful a larger mainline becomes. The effect increases with each elbow, tee, shut-off valve, filter and pressure-control device. These parts are necessary, but they all add a little resistance.
As a practical approach, use the larger pipe to reach the far end of a long border or allotment row, then branch off locally. Avoid feeding a large area from one narrow pipe that starts at the tap and winds through every bed. A looped layout can also improve consistency in some systems because water reaches the emitters from both directions, although it uses more pipe and fittings.
Height is another consideration. Watering a greenhouse staging area, raised planters or a sloping garden means lifting water above the source level. The greater the rise, the less pressure remains at the emitters. Small elevation changes rarely cause trouble on a short drip system, but a steep garden, long slope or sprinkler installation may need a larger supply line and separate zones.
Match pipe diameter to your water source
The garden tap is only part of the picture. Two properties can have similar tap pressure but very different available flow. A narrow hose connector, a restrictive timer or a basic water butt outlet can limit a system before the irrigation pipe begins.
For mains-fed irrigation, test the practical supply before committing to a large sprinkler layout. Fill a bucket of known volume and time it, ideally with the tap and intended hose connection set as they will be used. This gives a useful indication of flow rate. If the supply is limited, drip irrigation and shorter zones are usually more reliable than trying to run many sprinklers together.
For gravity-fed water butts, pipe diameter matters even more because available pressure is low. Use a generous mainline where possible, keep runs short, minimise sharp bends and choose emitters designed to work at low pressure. A pump can improve performance, but it must be matched to the required flow and pressure rather than selected only on its maximum rating.
Do not overlook pressure regulation
Drippers and micro irrigation fittings are often designed to work within a controlled pressure range. Mains pressure may be too high for a small irrigation network, causing fittings to blow off or drip lines to leak. A pressure reducer protects the system and gives more predictable output.
A reducer cannot compensate for an undersized pipe serving too many emitters. Think of pressure control and pipe diameter as separate parts of the same design: one protects and stabilises the system, while the other provides a clear route for enough water to travel through it.
A practical sizing approach for common garden jobs
For a few containers close to the tap, use a compact supply tube with short micro tube tails to individual drippers. For greenhouse grow bags, tomato pots and staging, run a suitable branch line along the bench and take short micro tube connections to each plant.
For beds and vegetable rows, carry water along the plot in 13 mm tube or drip line where the run and number of outlets are modest. If the area is long, divided by paths, or supplied from one distant tap, install a larger mainline first and reduce to 13 mm at each bed.
For micro sprinklers, calculate the combined flow carefully and use a main supply pipe that can support the number operating together. For pop-up lawn sprinklers, treat pipe sizing as a dedicated design decision. Lawn sprinklers need adequate flow and working pressure for correct throw and overlap, and they should not share a zone with low-flow drippers.
Check the system before burying or covering pipe
Lay out the pipe, fit the filter, timer and pressure reducer, then flush the line before inserting drippers or closing end caps. Run each zone and inspect the first and last emitters. They should provide similar output, with no connectors lifting, leaking or spraying water.
If the far end is weak, reduce the number of emitters on that zone, shorten the run, create another branch from a larger mainline or increase the main pipe diameter. Do not simply turn adjustable drippers up at the end of the line, as this can make the imbalance worse.
A well-sized system gives every plant a fair share of water without wasting it on leaks, runoff or oversized spray patterns. If you are extending a garden layout and are unsure which pipe and fitting sizes match, Topiary Garden can help you identify the right components before installation. Plan the mainline generously, keep micro tube short, and let each watering zone do a realistic amount of work.