
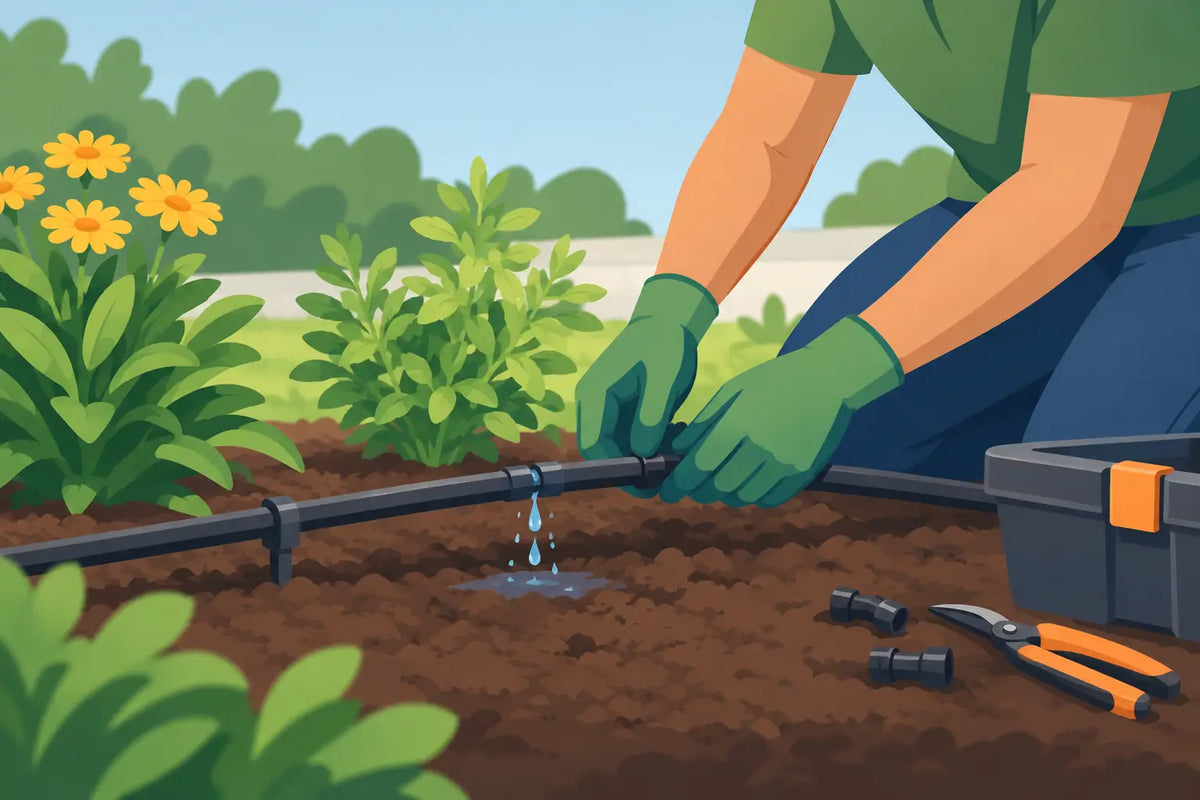
A damp patch beside a connector, a dripper that suddenly sprays sideways, or a timer that seems to empty the tap far too quickly are all signs that water is escaping where it should not. Knowing how to stop irrigation leaks starts with finding the exact point of failure rather than replacing large sections of an otherwise sound system. A small repair made promptly protects water pressure, prevents thirsty plants at the end of a line and avoids wasting water through the growing season.
Most garden irrigation leaks come down to a short list of causes: a loose connection, damaged tubing, an incorrectly fitted dripper, excess pressure or frost damage. Work through the system methodically and you can usually make a reliable repair with the correct fitting, a clean cut and a few minutes of testing.
Find the leak before buying parts
Turn the water on and inspect the system while it is operating. A drip irrigation leak is not always obvious when the supply is off, particularly if the tube only opens up under pressure. Start at the tap connection, then follow the main supply tube, branch lines, valves, connectors and end stops. Check each dripper, micro sprinkler or pop-up sprinkler in turn.
Look for water pooling on the soil surface, unusually wet compost, hissing from a fitting, or a fine spray around a connector. In a greenhouse, run a dry piece of kitchen roll around suspect joints. It will show a slow seep that may not be visible at first glance.
Do not assume the wettest area is the source. Water can travel along tubing, beneath weed membrane or down a slope before appearing. A leak near the start of the line can also reduce pressure enough to make drippers further away look blocked or underperforming.
Before taking anything apart, switch off the tap or isolate the relevant zone. If a water timer is fitted, set it to off or disconnect it while you work. This prevents an unexpected programmed cycle soaking the area mid-repair.
How to stop irrigation leaks at connectors
Connectors are the most common leak point because they join sections of tube that move, expand in warm weather and can be knocked while weeding or mowing. A fitting may also leak if it was pushed into a tube that was cut unevenly or stretched over the wrong diameter.
Remove the connector and inspect both the fitting and tube end. Cut away any split, distorted or hardened section of tubing with clean, sharp cutters. Make the cut square. An angled or crushed cut leaves a path for water around the connector.
Push the tube fully onto or into the correct connector. With barbed fittings, the tube needs to pass over every barb designed to grip it. Warming the tube end in a little warm water can make installation easier, especially in cool weather, but do not use a flame or boiling water as this can deform the pipe.
If the joint still leaks, check that the connector matches the tubing size. Irrigation systems commonly use different tube diameters for main lines and smaller distribution lines. A connector that appears to fit can still seep if it is intended for another size or wall thickness. Replacing it with a matching straight connector, elbow, tee or joiner is normally more dependable than trying to seal it with tape.
Threaded tap fittings, hose connectors and timer connections need a slightly different approach. Check that the washer is present, clean and seated correctly. A flattened rubber washer is inexpensive to replace and is often the real cause of a dripping tap connection. Tighten hand-tight first, then only a little further if needed. Over-tightening plastic threads can crack the fitting or damage the seal.
Repair split irrigation tubing properly
Sun exposure, garden tools, pets, rodents and repeated movement can split irrigation tube. A split close to a fitting is usually best removed rather than patched. Cut out the damaged piece and join the two clean ends with a straight repair connector of the correct size.
For a pinhole in a longer run, cut out a short section around the damage. This gives the repair connector firm, undamaged tube to grip. Avoid wrapping a split with insulating tape, duct tape or garden string. These may slow the leak briefly, but pressure and weather soon defeat them.
If there is not enough slack to bring the two cut ends together, add a short length of compatible tube between two connectors. This is also useful where a main line has been accidentally cut by a spade. Keep the repair accessible where possible, rather than burying a connector beneath compacted soil or paving.
Check the route of the tube before restarting the system. Tubing that crosses a sharp paving edge, is trapped under a pot, or is pulled tightly around a raised bed is likely to fail again. Use stakes or clips to keep it in position and leave a little allowance for movement.
Check drippers, micro sprinklers and stakes
A leaking dripper can be a fitting issue, not a faulty dripper. If a punch hole in the supply tube is oversized or torn, the dripper will not hold securely. Remove it, cut out the damaged area if practical, then install the dripper in a fresh, correctly sized hole. Where the original position must be retained, a blanking plug can close the old hole before a new connection is made nearby.
Micro tubing can also work loose from a take-off connector or dripper outlet. Trim off the stretched end and refit it. If the tube has gone brittle after several seasons, replace the full run rather than repairing multiple weak sections one by one.
With micro sprinklers, confirm that the nozzle and stake are upright and secure. A sprinkler leaning against foliage can throw water onto the tube connection, making it look as though the fitting is leaking. Clean debris from the nozzle before replacing parts. A blocked nozzle can create uneven spray patterns and put unnecessary strain on small fittings.
For pop-up sprinklers, inspect the body, riser seal and nozzle after flushing the line. Grit around the seal can cause water to spill from the head while it is raised. If the sprinkler leaks continuously after the system shuts off, the issue may be a valve that is not closing fully rather than the sprinkler itself.
Control pressure to prevent repeat leaks
A system that leaks at several joints may be working above the pressure its components are designed to handle. This is particularly common when a drip line is connected directly to a mains tap without suitable pressure control. High pressure can force tubing off barbed fittings, cause micro tubing to balloon and make drippers deliver unevenly.
Fit a pressure reducer where required by the irrigation equipment, especially on drip systems and low-flow micro irrigation. Use components rated for the system type rather than mixing fittings from unrelated hose and irrigation ranges. The right pressure also helps ensure that plants at the start and end of the line receive a more even amount of water.
A blocked filter can create a different problem. It may not cause a leak directly, but debris can stop valves, drippers and sprinklers from working as intended. Clean filters regularly, particularly if using stored rainwater, borehole water or water from a butt. Flush main lines before fitting drippers and sprinklers after a new installation or significant repair.
Prevent leaks during winter and holidays
Frost is hard on irrigation fittings. Before prolonged freezing weather, turn off the supply, disconnect timers where appropriate and drain water from exposed hose, tubing and components. Water left inside can expand and split plastic fittings or weaken seals, only becoming obvious when the system is restarted in spring.
During the watering season, give the system a quick inspection every few weeks and after mowing, pruning or moving pots. Pay particular attention to connections near paths, greenhouse doors and raised-bed corners where tubing is easily disturbed. If you are leaving the garden for a holiday, run a full cycle while you are still at home. Check for drips at the tap, timer, filter, pressure reducer and end of every irrigation zone.
Keeping a few compatible repair connectors, end stops, blanking plugs and a spare length of tube means a small leak does not turn into a missed watering day. Topiary Garden stocks component-level irrigation parts so it is easier to repair the section that has failed rather than replace a complete set-up.
A leak-free system is not about making every joint excessively tight. It is about clean cuts, correctly matched parts, sensible pressure and regular checks. Make one careful repair, test it with the system running and your watering can return to doing the quiet, dependable job your plants need.