
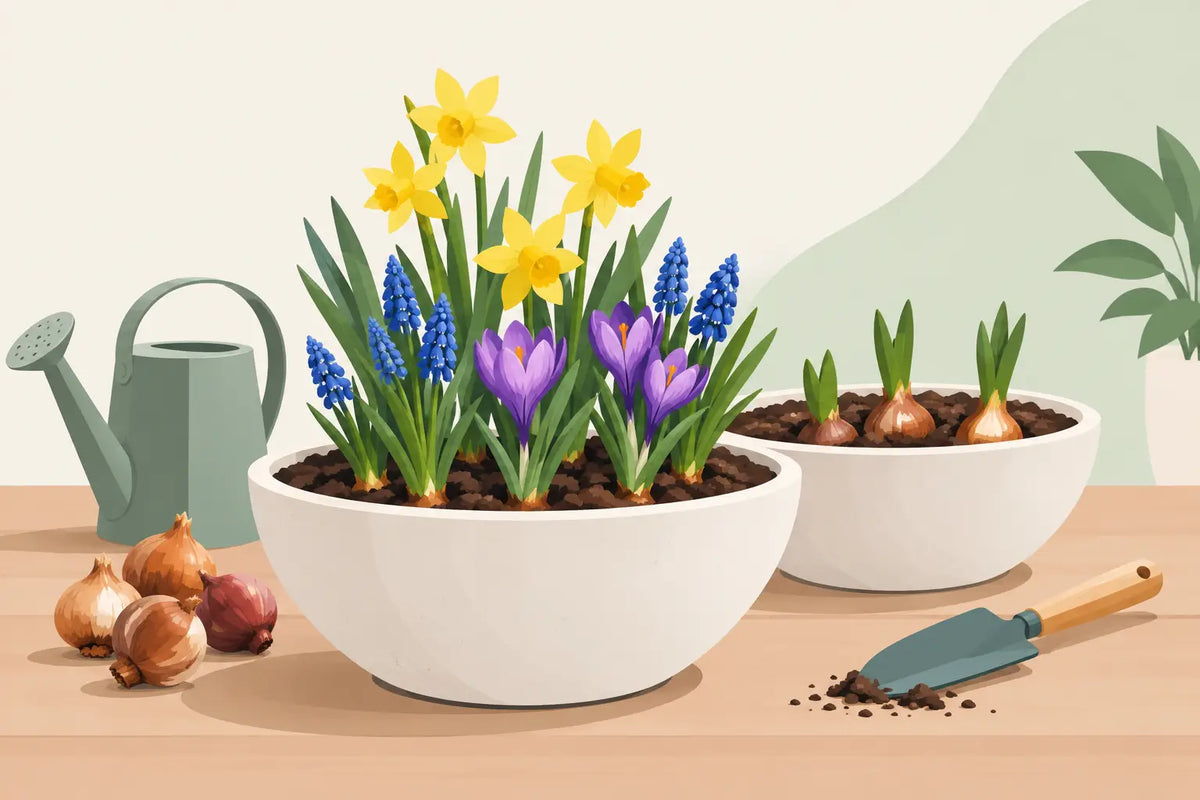
A bulb bowl can give a patio table, doorstep or greenhouse bench an instant lift, but it needs more than a handful of bulbs and a splash of water. Bulb bowls for spring planting work best when the container, compost and watering routine suit the bulbs you have chosen. Get those basics right and you can enjoy dependable colour without waterlogged compost or disappointing foliage.
Spring planting is mainly for summer-flowering bulbs, corms and tubers such as lilies, gladioli, dahlias, begonias and freesias. Traditional spring displays of tulips, daffodils and hyacinths are normally planted in autumn, then spend winter developing roots. That distinction matters when choosing what to put in your bowl.
Choose bulbs that suit spring planting
For a bowl planted from March onwards, select varieties that are happy to grow and flower in the same season. Tender plants should wait until the risk of hard frost has passed, particularly in exposed UK gardens. In much of the country, that means late April or May for dahlias and begonias, although a greenhouse or sheltered porch gives you more flexibility.
Lilies are a practical choice for deeper bowls because their bulbs benefit from room below the surface. Compact dahlias produce a longer summer display, while tuberous begonias suit shaded or partly shaded spots. Gladioli make a stronger upright feature, but their height can make a lightweight bowl unstable, so use a substantial container and position it out of strong wind.
Do not expect spring-planted tulips to perform like autumn-planted ones. They may flower poorly, if at all, because they have not had the cold period needed to establish properly. If you want early spring colour next year, plant hardy spring bulbs in autumn and use a separate bowl for summer bulbs now.
Start with the right bulb bowl
A good bulb bowl needs enough depth for roots as well as the bulb itself. Shallow decorative bowls are useful for small, short-rooted bulbs or for displaying planted nursery pots, but they are less forgiving in warm weather. Compost dries quickly and tall plants can become top-heavy.
Drainage is the first check. A bowl with drainage holes is the simplest option for outdoor use, as excess water can escape after heavy rain. Place it on pot feet, blocks or a stand so the holes are not sealed against paving. This is especially useful on patios where a container can otherwise sit in a puddle for days.
Many decorative bulb bowls do not have holes. These can still be used, but they require a different approach. Set a smaller plastic nursery pot with drainage holes inside the bowl, then remove it for watering and allow it to drain before returning it. Alternatively, use the bowl indoors as a cover pot. Avoid relying on a layer of gravel at the bottom to solve poor drainage: it takes up root space and does not prevent compost above it from becoming saturated.
Choose a bowl wide enough to create a full display without cramming bulbs together. Close planting can look effective in containers, but bulbs should not touch one another or the side of the bowl. Air movement around each bulb helps reduce the chance of rot.
Compost and planting depth
Use fresh, peat-free multipurpose compost for most summer-flowering bulbs. For bulbs and tubers that dislike wet roots, such as lilies and begonias, mix in horticultural grit or perlite to improve drainage. Old compost can be reused in borders, but it is usually short of nutrients and may hold pests or disease spores, so it is not the best starting point for a new container display.
Planting depth depends on the variety. As a general guide, bulbs are planted around two to three times their own depth, while tubers and corms often sit nearer the surface. Dahlia tubers need their shoots facing upwards and should be covered lightly. Begonia tubers are planted with the hollow side facing up, just below the compost surface. Check the instructions supplied with your bulbs where available, as depth varies considerably.
Fill the bowl part way with compost, position the bulbs, then add compost around and over them without pressing it hard. Firm lightly so there are no large air gaps. Leave a watering gap of roughly 2cm below the rim. This gives you room to water properly without washing compost over the side.
Water bulb bowls without soaking them
Newly planted bulbs need moisture to begin rooting, but they do not need constantly wet compost. Water once after planting, enough to settle the compost, then check moisture before watering again. Push a finger a few centimetres into the compost. If it feels damp, wait. If it is dry at that depth, water slowly until a little drains from the base.
This changes as temperatures rise. A bowl in full sun may need checking daily in summer, particularly if it is small or terracotta. A shaded bowl or a large glazed container may hold moisture for much longer. There is no fixed schedule that works for every container, which is why checking the compost is more reliable than watering by the calendar.
Aim water at the compost rather than leaves and flowers. A watering lance with a gentle rose is useful for reaching the base of plants without disturbing the surface. For several patio containers, a micro drip system can supply water directly to each bowl. Use adjustable drippers where containers vary in size, and add a timer only after checking how quickly your individual bowls dry. Timed watering saves effort, but an over-watered bowl is still an over-watered bowl.
Feeding and aftercare through the season
Fresh compost contains enough feed for the first few weeks. Once shoots are growing strongly, apply a liquid fertiliser according to the product instructions. A balanced feed supports leafy growth early on; switching to a higher-potash feed can support flowering for plants such as dahlias and begonias.
Remove faded flowers before they set seed, particularly on dahlias, to keep the plant producing new buds. Stake taller lilies and gladioli early, before stems are leaning. Rotate the bowl every few days if one side faces a wall or receives much stronger light, as this helps growth stay even.
Watch for slugs around new shoots, especially where bowls sit beside beds or dense planting. Raised stands can help, while regular inspection is usually more useful than waiting for noticeable damage. Aphids may appear on soft new growth, so deal with small colonies promptly using a suitable method for your garden.
When growth is slow or bulbs fail
A slow start is not always a problem. Spring-planted bulbs often wait for warmer compost before growing, and cool nights can delay them. However, soft bulbs, yellowing shoots and a sour smell from the compost usually point to excess water. Remove affected material, let the compost dry where possible and review drainage before replanting.
No shoots at all may mean the bulb was planted too deeply, placed in cold conditions or was not viable when purchased. Digging repeatedly to inspect it can damage developing roots, so allow reasonable time based on the variety and weather before intervening.
Keep the bowl where you can check it easily rather than treating it as a set-and-forget display. A quick look at compost moisture, leaf colour and new growth gives you the information needed to adjust watering before a small problem becomes a lost planting. With a suitable bowl and measured watering, spring-planted bulbs can carry colour well beyond the short window of a traditional spring display.