
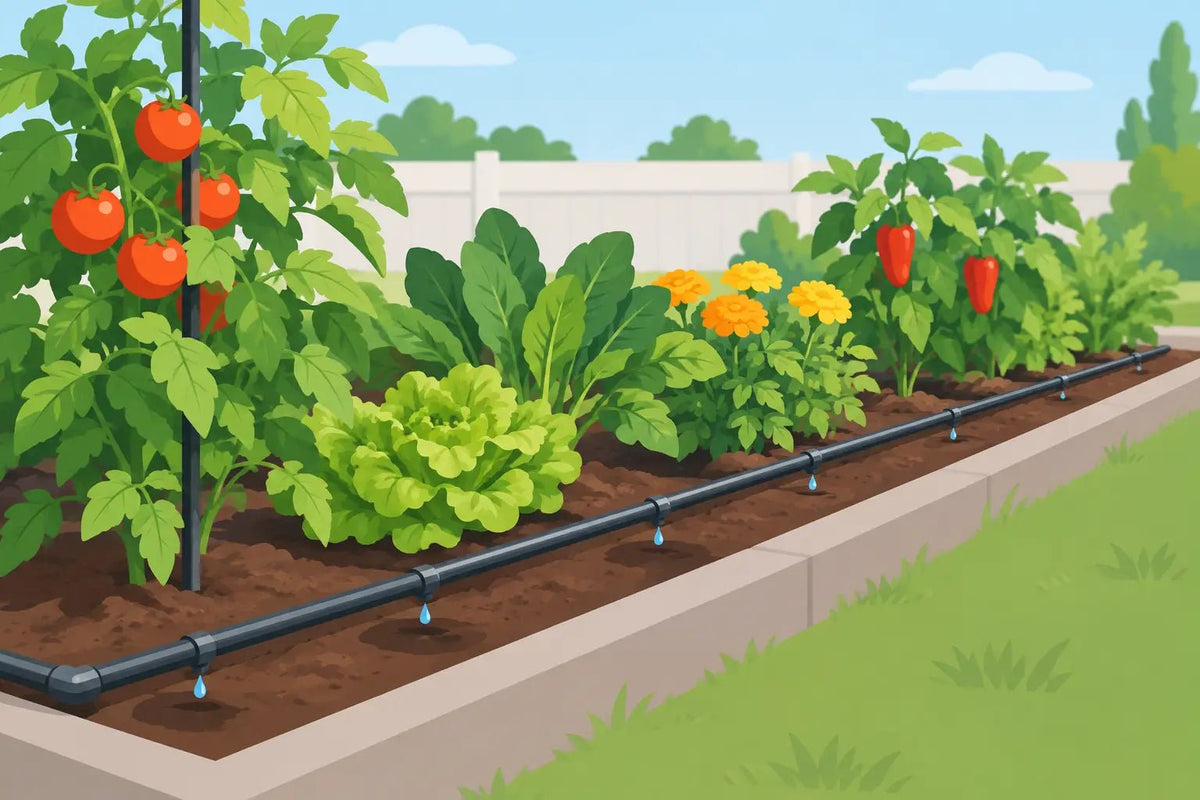
A mixed border is one of the hardest places to water well by hand. Tall perennials shelter smaller plants, dense foliage stops water reaching the soil, and thirsty shrubs can take more than their share. Border drip irrigation puts water where it is needed: along the soil surface and into the root zone, rather than over leaves, paths and neighbouring weeds.
For UK gardens, this is particularly useful during dry spells, when a border may need a slow, thorough soak rather than a quick daily sprinkle. A well-planned drip system gives plants a consistent supply, reduces evaporation, and makes watering before work, at weekends, or while away on holiday far less demanding.
How border drip irrigation works
A border system usually begins at an outdoor tap. Water passes through a tap connector, timer and pressure reducer before entering the supply tube. From there, a smaller drip tube or micro tube can run through the bed, secured with stakes and fitted with drippers where individual plants need water.
Some layouts use porous dripline with emitters built into the tube at regular intervals. This suits long, evenly planted borders and hedge lines. Other layouts use plain irrigation tube with adjustable drippers. This gives more control where a border contains a mixture of established shrubs, roses, herbaceous perennials and newly planted specimens.
The principle is simple, but flow and pressure matter. Most drip components are designed to work at a lower, controlled pressure than a mains tap provides. A suitable pressure reducer helps prevent fittings from popping apart, avoids uneven output and allows drippers to perform as intended. It is a small component that makes a significant difference to day-to-day reliability.
Where a drip system makes most sense
Border irrigation is most effective in beds with permanent or largely permanent planting. Shrub borders, rose beds, long cottage-garden borders, productive beds and newly planted hedging are all strong candidates. Once the tube is in place beneath foliage or under mulch, it can be left to do its job without spoiling the garden's appearance.
It is less straightforward in a border that is completely redesigned every season. If plants are moved regularly, a fixed network of drippers may no longer sit beside the right roots. In this situation, use an accessible main tube around the edge of the bed and run short, movable micro tube lines to individual plants. The system remains easy to adapt when planting changes.
Drip irrigation is not a substitute for good soil preparation. Compacted ground, shallow-rooted plants in dry soil and very free-draining sandy beds may still need closer attention. The benefit is that the water applied is more targeted, giving you a more predictable starting point than a hosepipe spray.
Planning the layout before buying components
Measure the border length and sketch its shape before choosing tube and fittings. Mark the tap position, paths, changes of level and areas that need different amounts of water. A bed running in full sun beside a wall will behave very differently from a shaded border beneath established trees.
Plan the main supply route first. It is usually best to run the supply tube from the tap to the border and around its outer edge, rather than threading it back and forth through every plant. Branch lines can then reach towards plants as required. Keep the tube route clear of places that will be dug frequently, edged with a spade or walked on.
Think about water zones, too. A border containing drought-tolerant lavender alongside thirsty hydrangeas should not necessarily receive the same watering duration. If practical, separate them into different runs or use adjustable drippers to reduce the flow to plants that prefer drier conditions. One timer can still control a simple system, but separate zones offer better control on varied sites.
When choosing fittings, match the tube diameter throughout the system. Irrigation ranges commonly use different sizes for supply tube and micro tube, and a connector that looks nearly right is not necessarily watertight. Choose the correct tees, elbows, end stops, joiners and take-off connectors for the tube you are using. Keeping a few spare fittings is sensible, especially for a long border that may be extended later.
Choosing dripline or individual drippers
Built-in dripline is neat and quick to install across evenly planted areas. Because emitters are spaced at fixed intervals, it can deliver a regular watering pattern along a hedge, a row of shrubs, or a densely planted bed. Lay it in gentle curves rather than tight bends, stake it securely and cap the end so that it can be opened for flushing.
Individual drippers are the more flexible option. Place one or more beside each plant, depending on its size and water needs. A newly planted shrub may need a single low-flow dripper at first, while a larger established shrub may benefit from two drippers positioned on opposite sides of the root area. Avoid placing an emitter directly against a stem or crown, where continually wet soil can encourage problems.
Adjustable drippers are useful for borders with varied planting, but they need occasional checking. A dripper set too low can leave a plant dry; one opened too far can saturate a small area and waste water. Fixed-flow drippers are more consistent where the layout and plant requirements are already known.
Installation that stays dependable
Install on a mild day if possible. The irrigation tube is easier to uncoil, shape, and push onto connectors when it is not cold and stiff. Lay the tube on the soil, check the route, then secure it with stakes at bends, junctions and intervals along straight runs. A tube that is not fixed down will creep out of position as temperatures change or when the border is weeded.
Before fitting the final end stop, flush the line. Turn on the water briefly and allow any loose manufacturing debris or soil introduced during installation to leave the tube. Then close the end and test every branch. Check connectors, drippers and end caps for drips, especially at the point where the supply tube joins the micro tube.
Covering the pipe lightly with mulch can improve the look of the bed and further reduce surface evaporation. Do not bury connectors so deeply that they become impossible to find, and leave drippers accessible enough to inspect. A label or quick photograph of the layout will save time when extending the system next year.
Setting a timer for the season
A water timer turns border drip irrigation from a convenient setup into a reliable routine. Watering early in the morning is usually a practical choice, giving moisture time to reach the soil before the warmest part of the day. Evening watering can also work, but avoid leaving foliage wet overnight if the system includes any spray components.
There is no single correct running time. Soil type, weather, plant maturity, emitter flow and how densely the border is planted all affect the answer. Start with a longer, less frequent soak rather than a very short daily cycle. Then inspect the soil a few centimetres below the surface near several plants. If it is dry beneath a damp top layer, increase the run time. If soil remains wet for too long, reduce it.
During prolonged rain, pause the timer or use a rain sensor where compatible. In spring and autumn, systems usually need far less water than in a hot, dry July. Newly planted borders need more regular support until roots establish, while mature plants with deep roots may need only occasional irrigation during dry weather.
Maintenance and common faults
A few minutes of maintenance prevents most problems. Walk the border every week or two in the growing season and look for crushed tube, displaced stakes, blocked drippers and wet patches that suggest a loose fitting. Flush end sections periodically, particularly where water carries sediment.
If the first drippers run strongly and the last ones barely drip, check for a kink, an undersized supply line or too many emitters on one run. If fittings leak, confirm that the tube has been pushed fully home and that the connector matches its diameter. A clean, square cut on the tube gives a better seal than a crushed or angled cut.
Before winter, drain exposed irrigation lines where possible and remove the timer from the tap if freezing conditions are expected. Store batteries and electronic timers indoors according to the manufacturer's guidance. Tube left in a border can often remain in place, provided it is protected from damage during winter digging and pruning.
A well-planned system should make the border easier to manage, not create another job. Start with the section that dries out first, use dependable components that fit together properly, and expand only when you are happy with the flow. Topiary Garden can help you assemble the practical parts needed for a system that suits your own bed, planting and watering routine.