
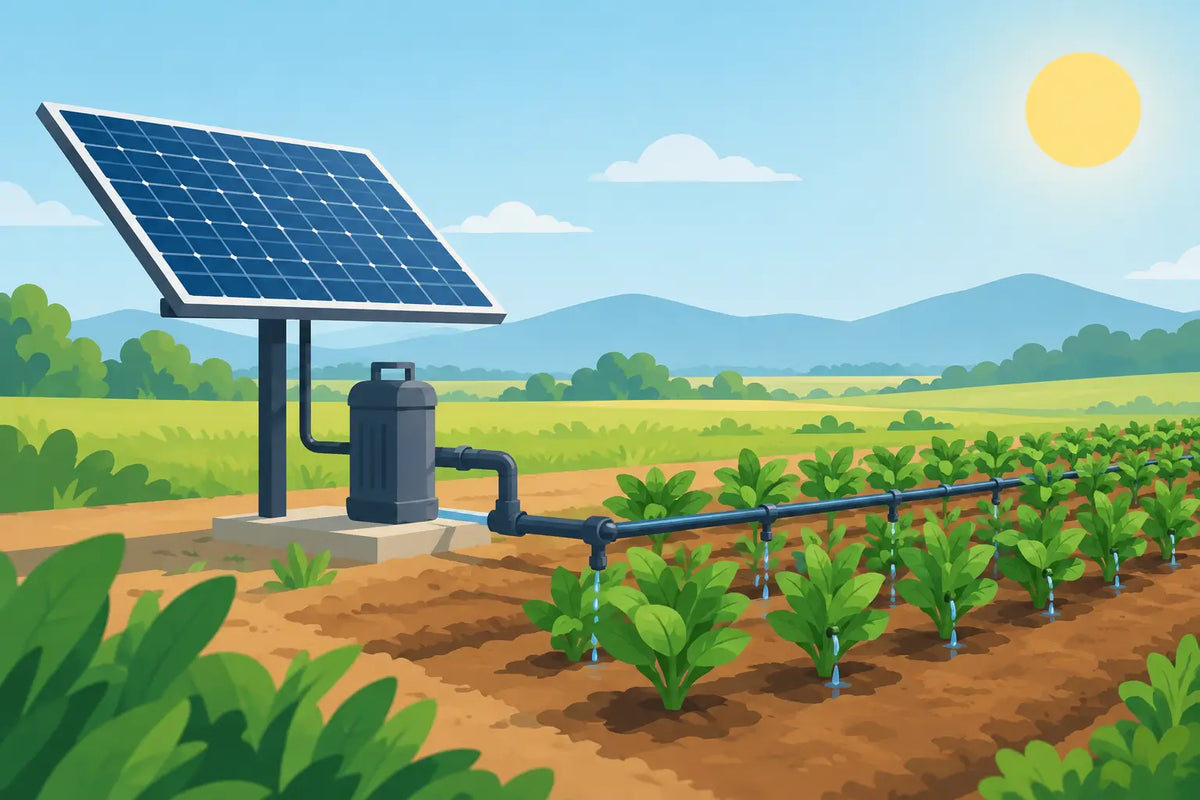
A dry greenhouse, a run of patio pots or an allotment plot can be difficult to water when there is no outdoor supply nearby. Solar irrigation without a tap solves that particular problem by lifting water from a container, water butt or reservoir and delivering it through small irrigation tubes on a timed programme. It is a practical option for holiday watering, remote corners of the garden and growing spaces where running a hose is not realistic.
The key point is simple: a solar irrigation kit does not create water. It needs a clean, dependable stored-water source. Get the reservoir, pump position and watering layout right, and a small solar system can keep plants supplied with far less effort than hand watering.
How solar irrigation without a tap works
Most systems combine a small solar panel, rechargeable battery, pump, timer and irrigation outlet. The panel charges the battery during daylight hours. At the programmed time, the pump draws water through an intake tube and sends it along narrow distribution tubing to drippers or micro sprinklers.
This makes the system independent of mains water pressure. That is useful where a tap is too far away, unavailable at an allotment, or already needed for another job. Unlike a gravity-fed watering set-up, the pump provides the pressure needed to move water around the circuit. However, every solar kit has a maximum lift height, run length and number of outlets. These limits matter more than the size of the solar panel alone.
A system is usually best suited to containers, hanging baskets, greenhouse benches, raised beds and small productive plots. It can also work well for newly planted shrubs if each plant has a dripper. It is less suitable for a large lawn or broad borders that need high-volume coverage. For those areas, a conventional hose-fed sprinkler system is normally the more dependable choice.
Start with the water reservoir
The reservoir is the working heart of any tap-free solar system. A covered water butt is often the most convenient choice because it collects rainwater and reduces evaporation. A lidded storage tub can work for a small patio installation, while a larger tank may suit an allotment or polytunnel.
Place the container on firm, level ground close to the plants where possible. A shorter tube run reduces strain on the pump and makes it easier to find leaks or blocked drippers. Keep the intake away from sediment at the bottom of the butt. If the kit includes an inlet filter, fit it and clean it regularly. Fine debris, algae and compost particles are the common causes of poor flow in micro irrigation tubing.
Rainwater is generally suitable for garden plants, but it is not always available in long dry spells. Check the water level before leaving for a holiday. A solar unit cannot protect plants if the reservoir runs empty, and repeated dry running can shorten pump life. For a simple check, mark the water level on the outside of the container after a normal week's use.
Work out reservoir capacity before installation
Water use depends on the number of plants, dripper flow rate, weather and programme length. As a starting point, thirsty tomatoes and cucumbers in a greenhouse will need more frequent watering than established herbs or shade-loving pots. Hanging baskets can dry very quickly in sun and wind, particularly when planted densely.
Rather than guessing, run the system into a measuring jug for the length of one scheduled watering cycle. Multiply that figure by the number of cycles you intend to run, then allow a sensible margin for hotter weather. This gives a realistic guide to how long the stored water will last.
Match the system to the growing area
A small solar irrigation kit is not a one-size-fits-all answer. Begin by counting the pots, baskets or plants that genuinely need automated watering. Then consider their position. A greenhouse with twenty tomato plants needs a different layout from six patio containers spread across a sunny terrace.
Use drip irrigation tubing for most container and greenhouse watering. Fit a dripper at each pot or plant, securing the tube with stakes where needed. Drippers put water into the compost or soil instead of wetting paths, leaves and glazing. This is efficient and helps avoid the splash and humidity that can encourage some plant problems in a greenhouse.
Micro sprinklers can be useful for seed trays, shallow-rooted crops or closely planted beds, but they use more water and are more affected by wind. In a confined greenhouse, choose a low-output pattern and test that it is not soaking foliage or the floor. For individual containers, drippers are usually the cleaner and more controllable option.
When extending a kit, use compatible tube diameters, connectors and end stops. Forcing different sizes together can cause leaks or restrict flow. Tee connectors are useful for branching from a main run, while straight joiners make repairs straightforward if tubing is damaged by tools, pets or frost. Leave a little slack in exposed tube runs, as tubing can move with changes in temperature.
Position the solar panel for reliable charging
The panel needs daylight, not necessarily uninterrupted blazing sunshine, but shade will reduce charging considerably. Fit it where it receives the clearest practical view of the sky, ideally facing south in the UK. Avoid placing it under a greenhouse gutter, behind tall shrubs or where a fence casts a long afternoon shadow.
The panel and control unit should be fixed securely at a sensible working height. Keep cable connections tidy and away from standing water. If the kit has a separate pump cable, route it so it cannot be pulled loose when you remove the reservoir lid.
Winter brings shorter days and lower sun angles, so a solar system may have less charging capacity when plants need the least water. This is normally manageable for a few pots, but it is another reason not to overload the system with too many outlets. In prolonged dull weather, reduce programme frequency if the compost remains moist, and check the battery status where the controller provides an indicator.
Set watering times around plant needs
Early morning is usually the most useful time to irrigate. Water has a chance to soak into the compost or soil before daytime heat increases evaporation. Evening watering can also work for outdoor containers, but regular late watering in a poorly ventilated greenhouse may leave foliage damp for longer than necessary.
Start with shorter cycles than you think you need. Check the compost 30 minutes after the programme has finished, not just at the surface. If water is reaching the root zone and the pot is not running freely from the base, the duration is close to right. Increase gradually during hot spells rather than setting a very long cycle from the outset.
Different plants should not always share the same programme. If possible, keep drought-tolerant herbs separate from tomatoes, cucumbers and hanging baskets. One solar kit may be best assigned to the highest-priority plants, while less demanding areas are watered by hand when needed.
Installation checks that prevent most problems
Before relying on the system, test it for several days while you are at home. Fill the reservoir, run a manual cycle if available and walk the full tube route. Look for water escaping at connectors, uneven dripper output and tubing that has kinked behind pots or under staging.
Check that the pump is fully submerged if the manufacturer specifies this. Confirm that the intake filter is clear and that the end of each tube run is properly closed. A loose end stop can waste a surprising amount of stored water before you notice it.
Make a habit of inspecting the system after heavy rain, strong winds and heatwaves. Wind can shift lightweight pots and pull on tubing. Hot weather changes water demand rapidly. A weekly five-minute check is often enough to keep the system dependable through the growing season.
Common faults and practical fixes
If the pump runs but little water reaches the plants, clean the inlet filter first and inspect the tubing for kinks. If only the furthest drippers are weak, the run may be too long, the lift too high or there may be too many outlets for the pump. Shortening the circuit or splitting plants across two systems is often more effective than adding more drippers.
If water delivery stops after a few days, inspect the reservoir for algae or sediment and clean the filter. Covering the water source reduces light, debris and evaporation. If the controller is not operating consistently, check that the solar panel is clean, correctly positioned and receiving enough daylight.
Solar irrigation is most reliable when treated as a measured watering system rather than a fit-and-forget gadget. Choose the plants that benefit most, keep the water source clean and test the output as the weather changes. With a correctly sized reservoir and a tidy dripper layout, it can keep valuable plants watered even where a tap is nowhere near the job.