
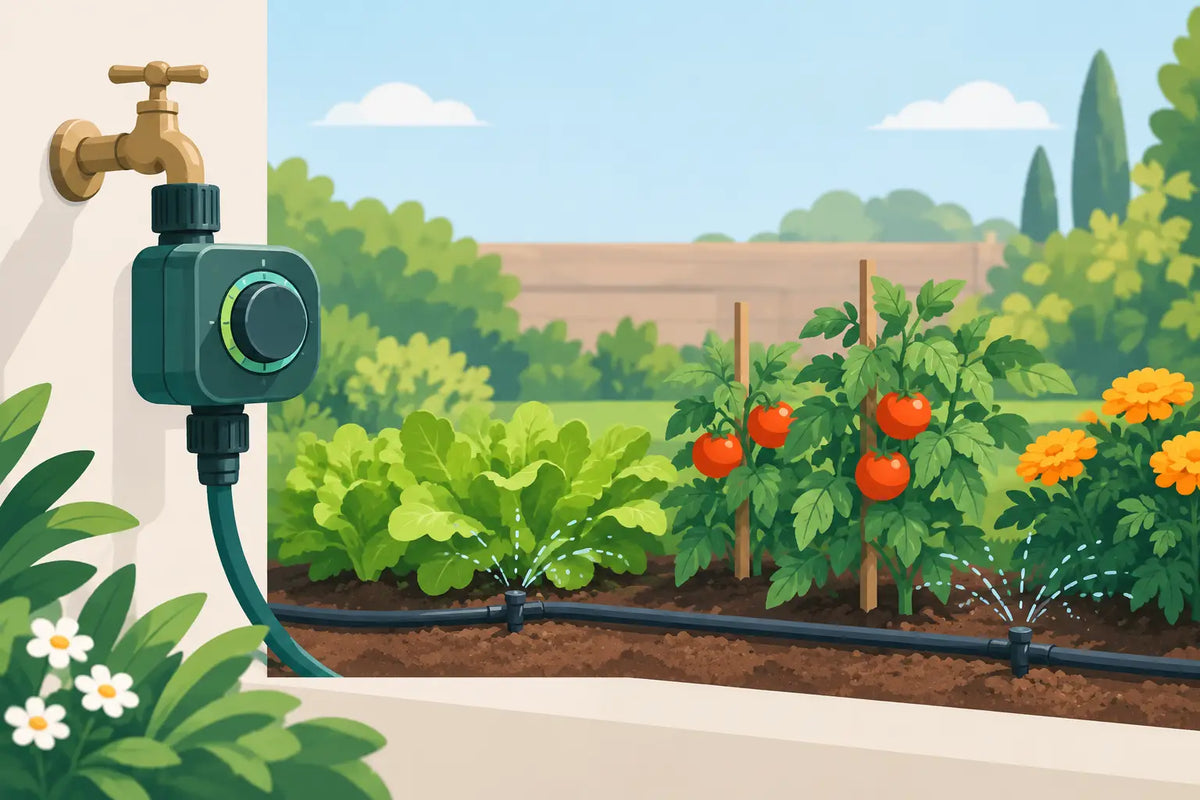
A dry spell can turn a productive greenhouse border or a row of patio pots into a daily watering job very quickly. Garden water timers take that routine off your hands by opening and closing the supply at the times you choose. Used with the right hose, drip line or sprinkler system, they provide plants with regular moisture without leaving water running longer than necessary.
For UK gardens, a timer is particularly useful when watering restrictions, busy weekdays or a summer holiday make manual watering unreliable. The key is not simply choosing the most programmable unit. It is matching the timer to the tap, water pressure, irrigation layout and the plants you need to water.
What garden water timers do
A water timer sits between an outdoor tap and your hose or irrigation system. It operates a valve according to a set programme, allowing water to flow at selected times for a selected duration. Depending on the model, this may be one watering programme each day, several start times, or two independently controlled outlets.
That control makes a real difference to water use. A drip irrigation system can run slowly for a longer period and deliver water close to the roots, while a micro sprinkler or pop-up sprinkler system may need a shorter programme with sufficient pressure to cover its intended area. The timer provides consistency, but the pipework and emitters still determine where the water goes.
Most domestic timers run on batteries and connect directly to a standard outdoor tap. They are designed for straightforward installation, although it is worth checking the thread size and whether you need a hose connector, tap adaptor, pressure reducer or filter before fitting the system.
Choosing the right timer for the job
The simplest garden water timers are ideal for a single hose line, a small drip kit or a group of containers. You set the frequency and duration, then let the timer run the schedule. This is often enough for a border, hanging baskets or a compact greenhouse where all plants have similar watering needs.
A dual-outlet timer is more practical where one area needs different treatment from another. For example, one outlet can supply drip irrigation to tomato plants in the greenhouse, while the other operates a sprinkler line for a lawn or wider bed. Each outlet should have its own programme, so you are not forced to water everything at the same time or for the same length of time.
More advanced digital models offer multiple daily start times and finer control over run length. These suit gardens with separate irrigation zones or systems that need short, repeated watering cycles. Seedlings in propagation trays, for example, may benefit from lighter and more frequent watering than established shrubs. However, extra programming is only useful if you will use it. A clear, reliable timer with the settings you need is usually the better choice than a complicated unit that is difficult to adjust.
Single outlet or dual outlet?
Choose a single-outlet timer when one watering schedule serves the whole connected area. It keeps the setup simple and works well with a single drip line or hose-end sprinkler.
Choose a dual-outlet timer when you have genuinely separate zones. A lawn sprinkler and a drip system should not normally share the same programme: sprinklers need a stronger, shorter flow, while drippers work best with controlled delivery at root level. Two outlets also make it easier to expand the system later without repeatedly disconnecting fittings.
Mechanical or digital control?
Mechanical timers are straightforward and can be a good option for basic, repeatable watering. Digital timers generally provide greater flexibility, including specific start times, selected days and multiple programmes. For holiday watering, that additional control is valuable, especially when pots, greenhouse crops and borders have different needs.
Either type depends on a dependable water supply. Check batteries at the start of the season, replace them before a long trip away and inspect the seal around the battery compartment. A timer cannot compensate for a flat battery, a closed tap or a blocked filter.
Build the timer into a suitable irrigation system
A timer works best as one part of a properly planned watering layout. Begin at the tap and work outward. The usual order is tap connection, timer, filter or pressure control where required, main hose or supply pipe, then the distribution tubing and emitters.
For drip irrigation, pressure reduction is often essential. Standard mains pressure can be too high for smaller tubing, drippers and micro irrigation fittings. A suitable pressure reducer helps protect connections and gives more even performance along the line. A filter is equally worthwhile where water may carry debris that could block drippers or micro sprinklers.
Avoid connecting too many emitters to one small supply line without checking the system capacity. Water flow reduces over distance, particularly where there are many take-offs, long runs of tube or changes in height. If the first pots receive plenty of water but the last ones remain dry, the answer may be a separate zone, larger supply pipe or fewer drippers on that run, rather than a longer timer setting.
Sprinkler systems need their own assessment. Pop-up sprinklers and larger sprinklers require adequate flow and pressure to operate correctly. Running too many heads together can produce weak coverage and dry patches. Splitting the lawn or border into zones may take a little more installation work, but it gives more reliable watering and reduces waste from overspray.
Set watering times around plant needs
Early morning is usually the most effective time to run garden water timers. Temperatures are lower, evaporation is reduced and foliage has time to dry as the day warms up. Watering late in the evening can be useful in hot weather, but consistently wet leaves overnight may encourage disease on susceptible plants.
The right duration depends on the delivery method, soil and weather. A container in full sun dries far faster than an established border in partial shade. Sandy soil drains quickly, while heavy clay holds water for longer. A timer should be adjusted as conditions change rather than left on one programme from spring through to autumn.
Start conservatively and check the soil after a watering cycle. For drippers, inspect the root zone rather than the surface alone. Water may have soaked down effectively even when the top layer looks dry. If the soil is saturated, reduce run time or frequency. If it is dry several centimetres below the surface, increase watering gradually.
Newly planted shrubs, vegetables in grow bags, hanging baskets and greenhouse crops often need closer attention. Established plants with deeper roots can usually manage with less frequent, deeper watering. Frequent shallow watering encourages roots to stay near the surface, making plants more vulnerable when conditions turn warm and dry.
Common problems and practical checks
If a timer does not start, first make sure the tap is fully open and that the battery is correctly fitted. Then check the programme settings, as many digital units use separate controls for start time, run time and frequency. It is easy to set a duration but miss the required start time.
If water continues to flow after the programme should finish, check for dirt around the valve and make sure the fittings are properly seated. A filter can prevent this problem developing in the first place. Slow leaks at the tap connection are often caused by a worn washer, missing seal or incompatible fitting rather than the timer itself.
Where drippers or sprinklers perform unevenly, inspect for kinks in the tube, blocked emitters and excessive demand on one line. Flush the system periodically, particularly after installation or alteration. Small pieces of cut pipe and general debris can travel through the line and cause trouble at the furthest emitters.
Before winter, remove the timer if freezing conditions are expected. Drain hose pipes and irrigation lines where possible, and store battery-operated controls in a dry, frost-free place. This protects the valve and seals, and means the system is ready for a quicker restart when the growing season returns.
Use rain and observation to avoid waste
A timer should make watering more controlled, not automatic for its own sake. After steady rainfall, established borders and lawns may not need their scheduled cycle. Pause the programme manually or use a compatible rain sensor where appropriate. Containers under an overhang, greenhouse plants and hanging baskets may still need water even when the rest of the garden is wet.
It is also worth reviewing the system through the season. Plants grow, foliage creates more shade, and a greenhouse can become much warmer as summer progresses. Small adjustments to timer duration and frequency help keep water going where it is needed, rather than onto paths, fences or already saturated soil.
A well-chosen timer gives you consistency, but a quick weekly look at the plants keeps the system working properly. With correctly matched fittings, sensible zones and regular checks, watering becomes a dependable part of the garden rather than the job that gets missed when the weather finally turns dry.